Got some more updates, nothing that exciting but I like to share the progress anyway so I can keep a record for myself too of what I've done and when.
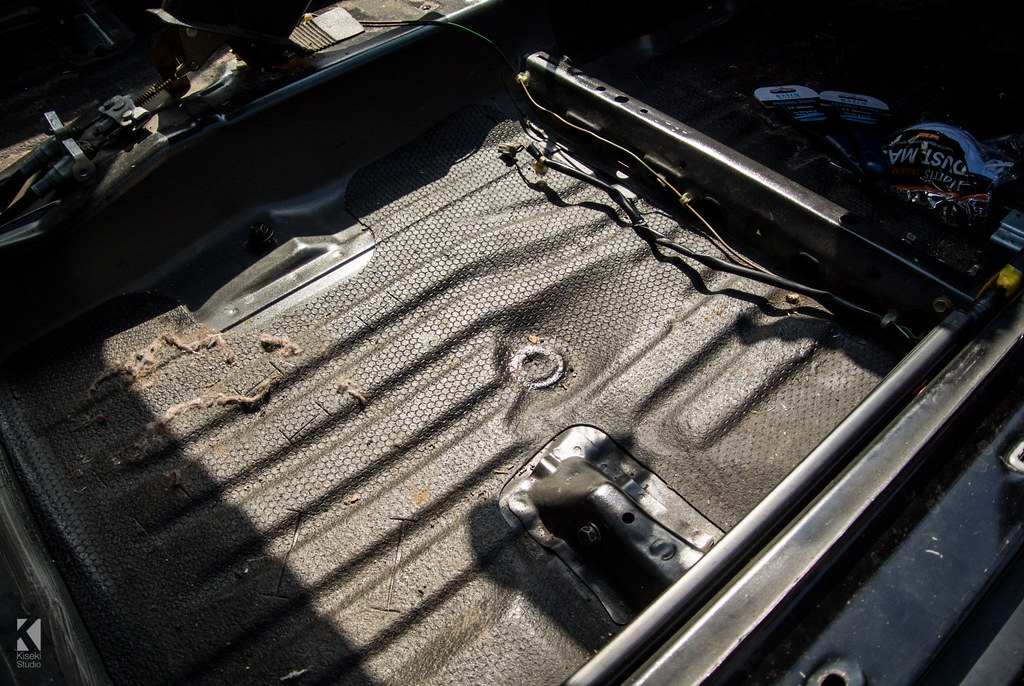
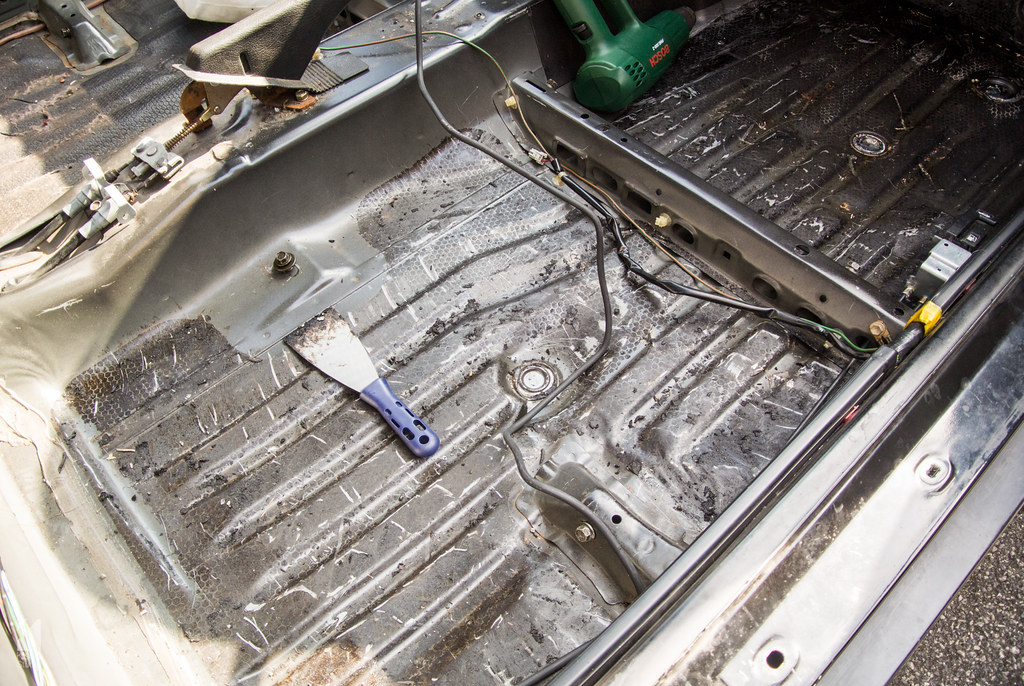
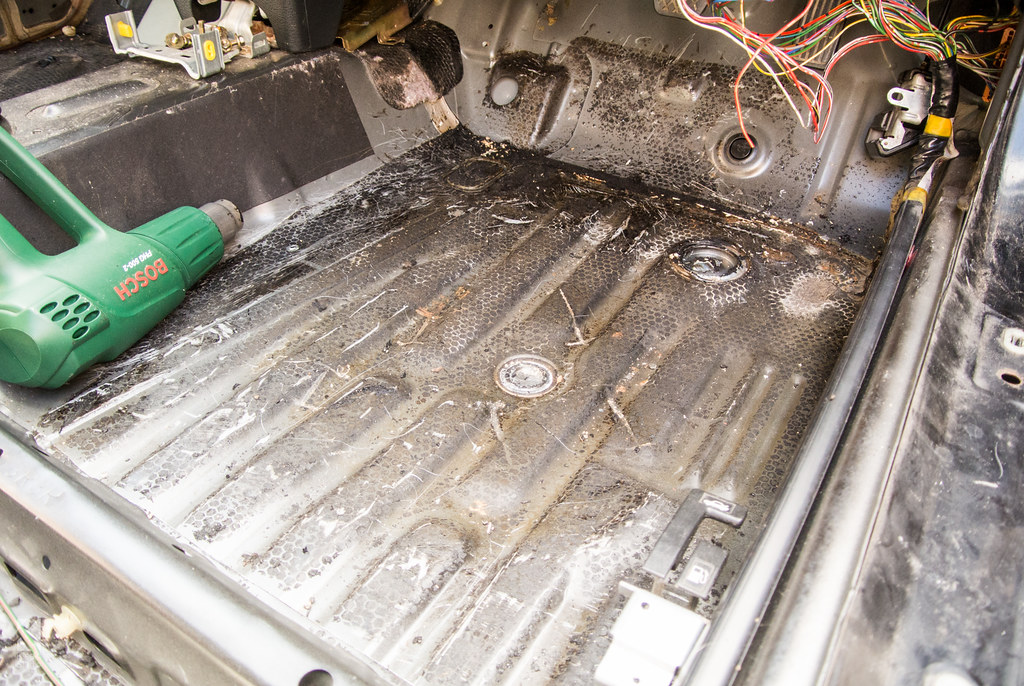
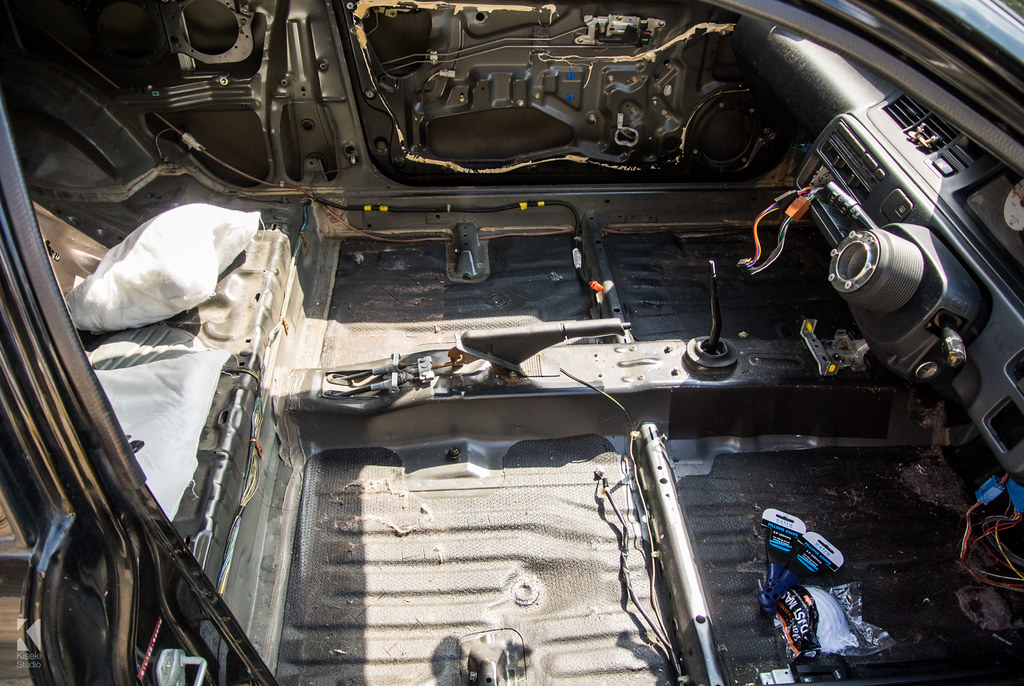
I got round to buying a decent heat gun and set to work on the sound deadening on the floor of the interior. Luckily I had a set of good scrapers to hand and me and the Mrs got stuck in.
After about 4-5 hours of intensive scraping we had cleared most of it off, some of the stuff came off in huge chunks thanks to a leak in the foot well which removed the adhesive from underneath and dried it out.
Here are some photos of before and after removal. It still needs tidying up but the majority of the sound deadening stuff was removed and in total it weighed 6kg's which is a substantial amount for a small car.
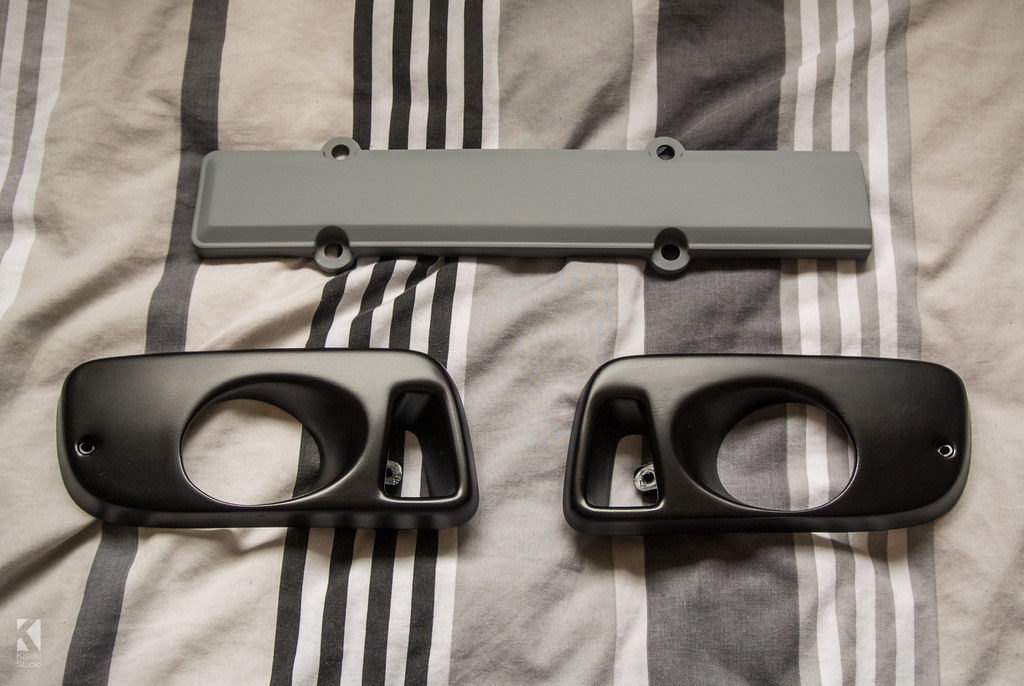
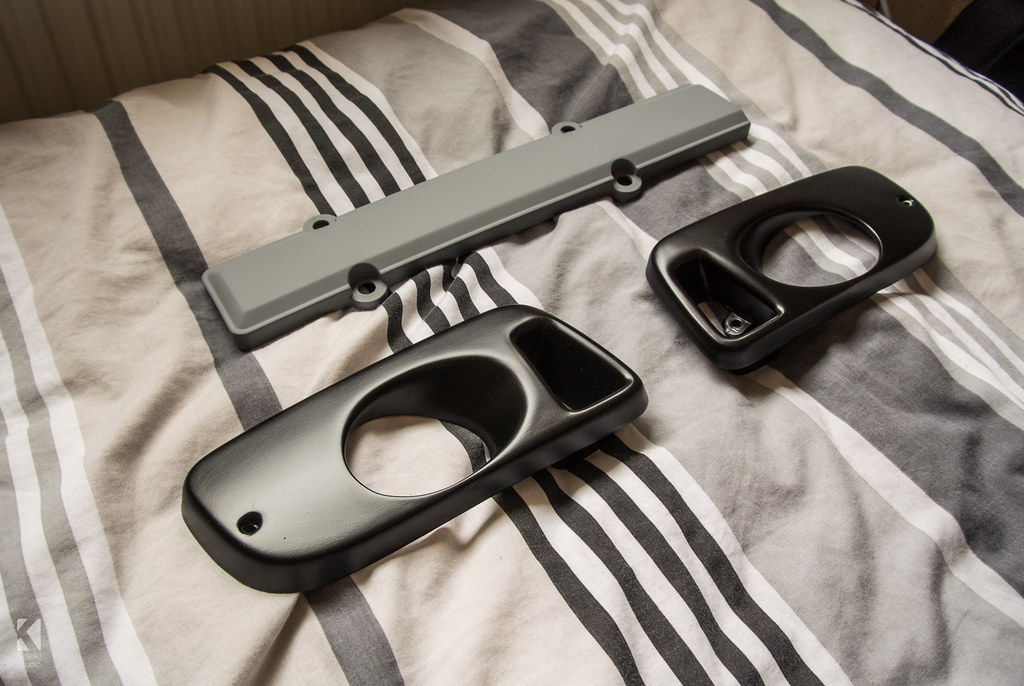
I also got round to preparing and painting the fog light covers and the spark plug cover. I chose to go with Satin Black for them to tie in with the stealth look I am going for.
I just need to paint the spark plug cover and the wing mirror bases Satin Black to match the rest of the theme. I've decided that the mirror covers and boot spoiler will be painted in body colour to keep a nice flow overall.
Monday, 22 April 2013
Sunday, 7 April 2013
Completed Rocker Cover
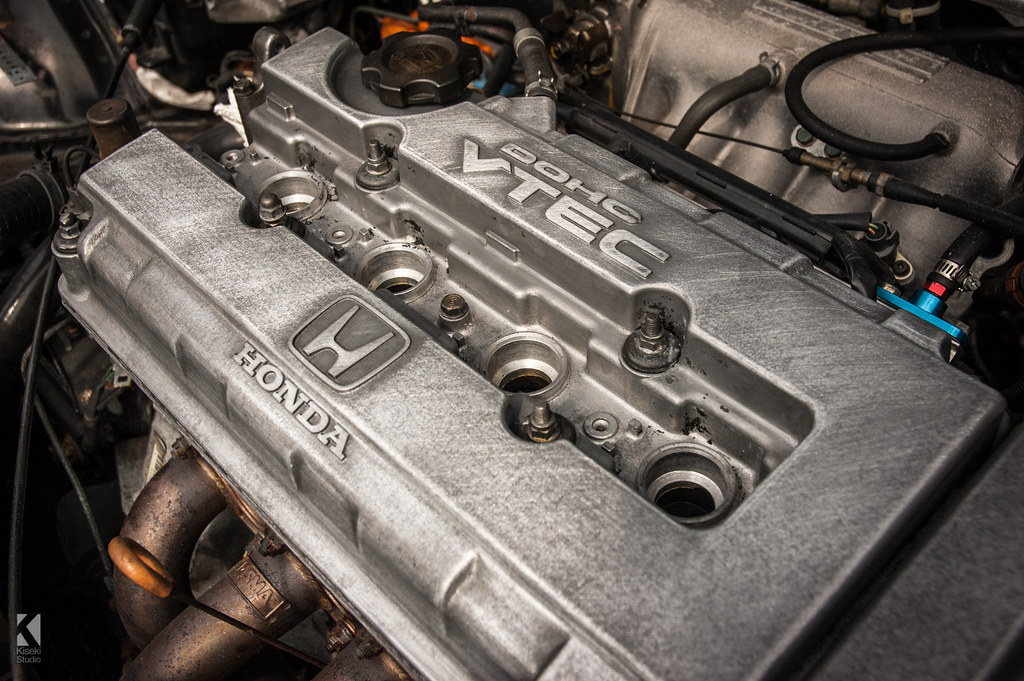
Here are some photos of the rocker cover now finished. I applied a liberal amount of Autosol and used the wire brush to take off any rough parts and dull patches on the metal then I used some harsh sandpaper around 120 grit to add some brush and scratch marks diagonally across the metal.
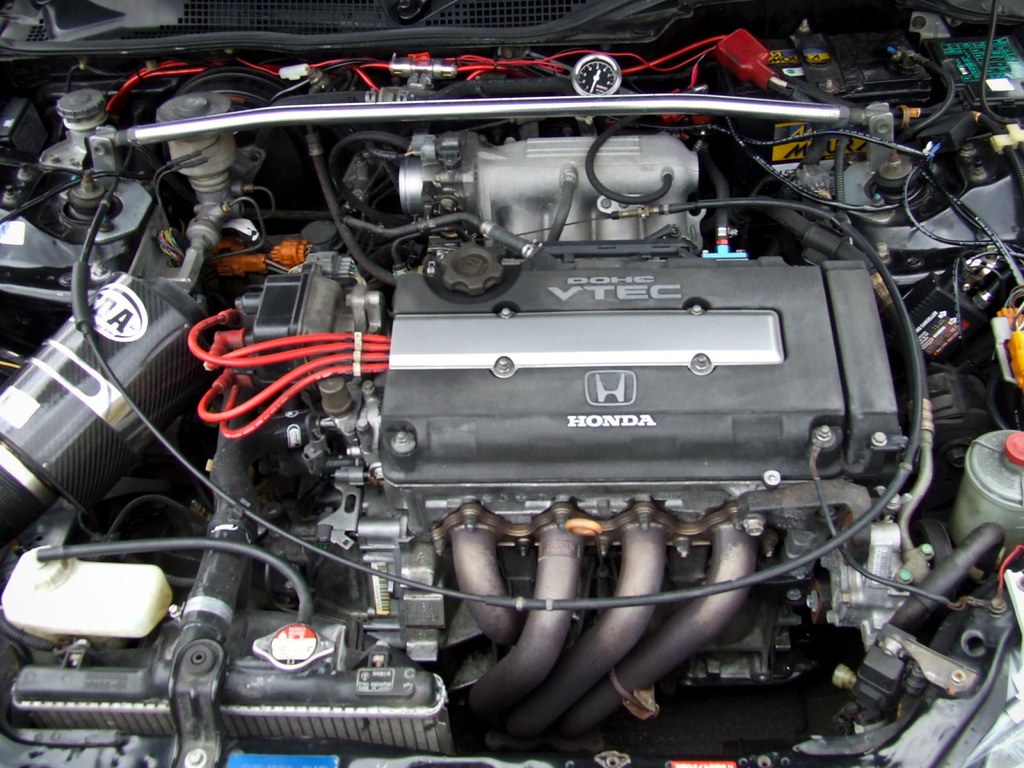
It still needs a bit of work but overall I'm happy with how it turned out. Once the spark plug cover and the rest of the parts are fitted in the bay it should look smart.
Labels:
B16 Stealth Bomber,
B16A,
Engine Cover,
Rocker Cover
Saturday, 6 April 2013
Updated Rocker Cover/Engine Cover
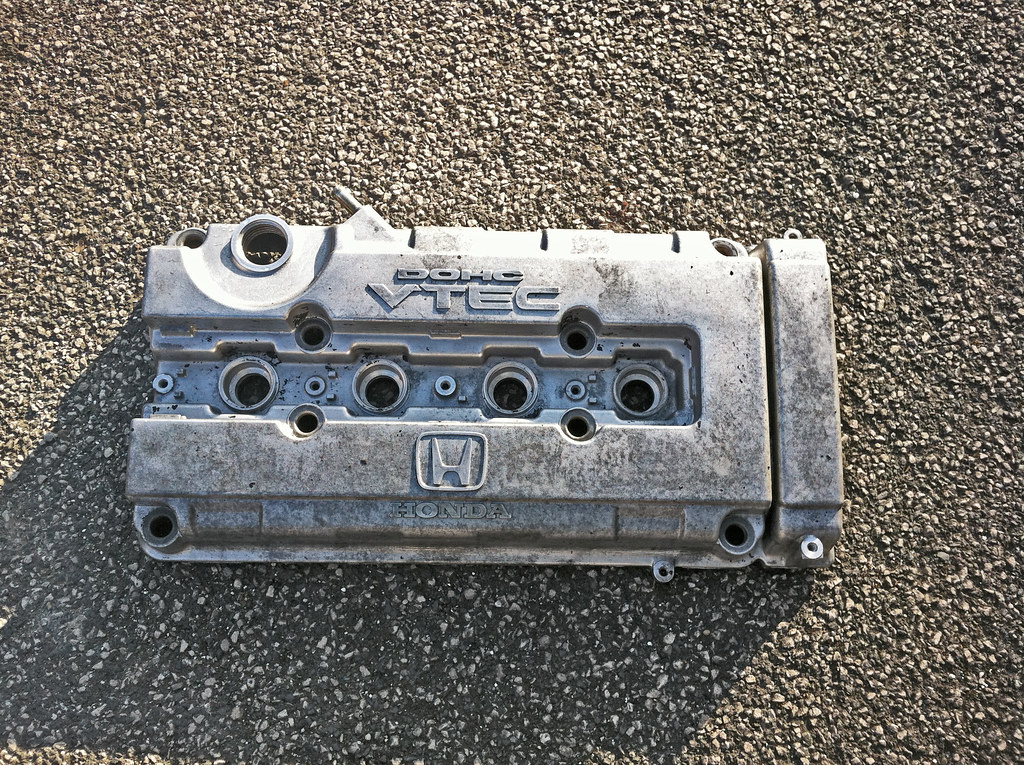
Spring finally arrived so I set to work on the rocker cover of my B16A, the paint had started flaking off so I decided to help it along and completely remove it all and leave the bare aluminium exposed. I've seen that look on a few other cars and it works quite well, I'm going to try polish it up a lot more and then scratch in some diagonal lines for added effect and to make it look a little different rather than just the plane solid aluminium finish. I used a fair amount of Nitromors on it applying about 5 or 6 times and leaving for 20 minutes intervals while the paint started to bubble off, it took quite a bit of elbow grease to shift some of the paint, using a paint scraper and a tough wire brush did the trick though.
I will post up the progress on finishing it off very soon, I just need to purchase a Dremel type tool to get in the small gaps and polish up the dull parts of the aluminium.
Before
Labels:
Aluminium,
B16A,
Bare,
Engine Cover,
Nitromors,
Paint Removed,
Paint Stripped,
Raw,
Rocker Cover
Sunday, 3 March 2013
New Suspension Parts
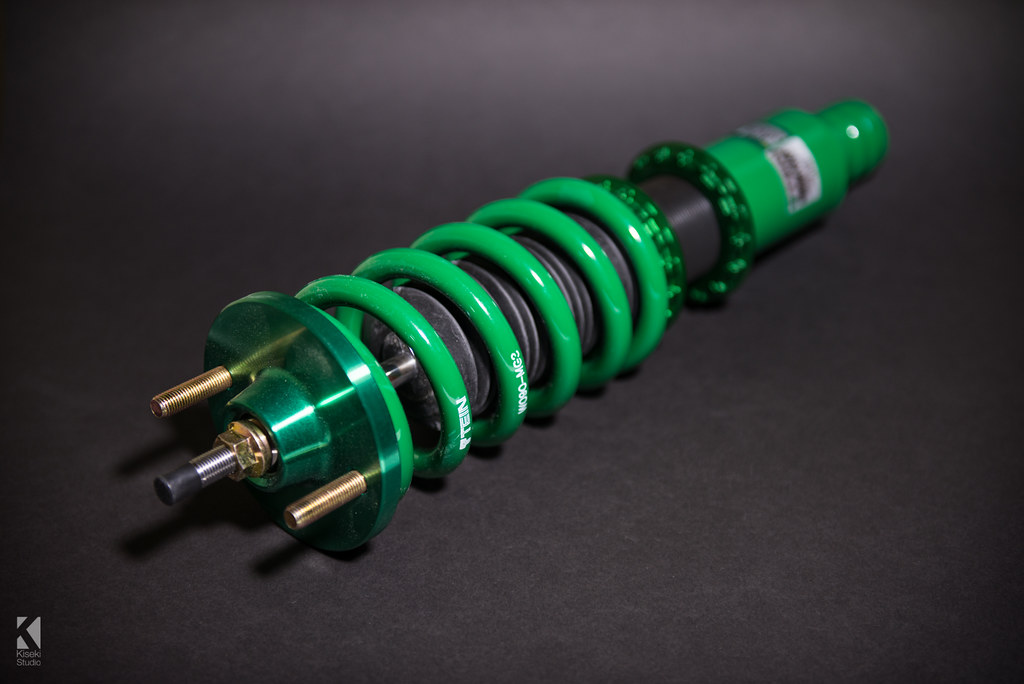
After much deliberation and research I decided on which suspension parts I am going to use on my EG6. Originally I wanted a set of Cusco Zero-2 coilovers, so after getting myself excited when I'd ordered them I was told they are discontinued now which was a bit of an upset, so I looked at the other alternatives which offers the amount of adjustments, I decided on TEIN Type Flex coilovers, again I was told these are also discontinued so I was not having much luck with my choices. I did some research in the UK and found that a local company stocked and sold TEIN Suspension products. I quickly ordered them from www.camskill.com after being informed they were in stock, they were very helpful and within 2 days of ordering the product they had arrived safely.
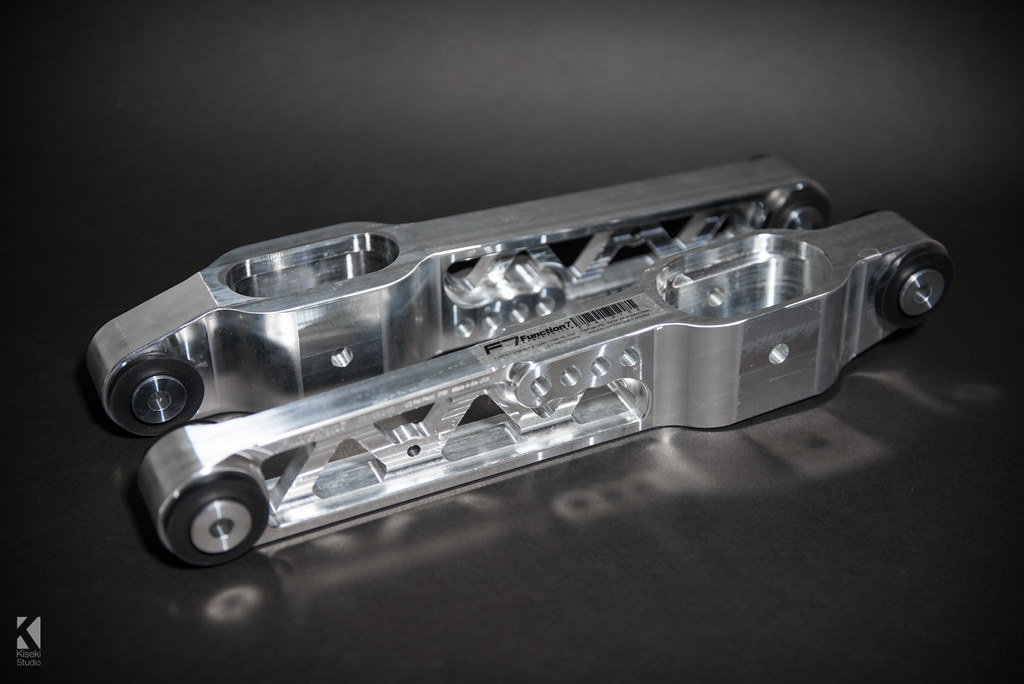
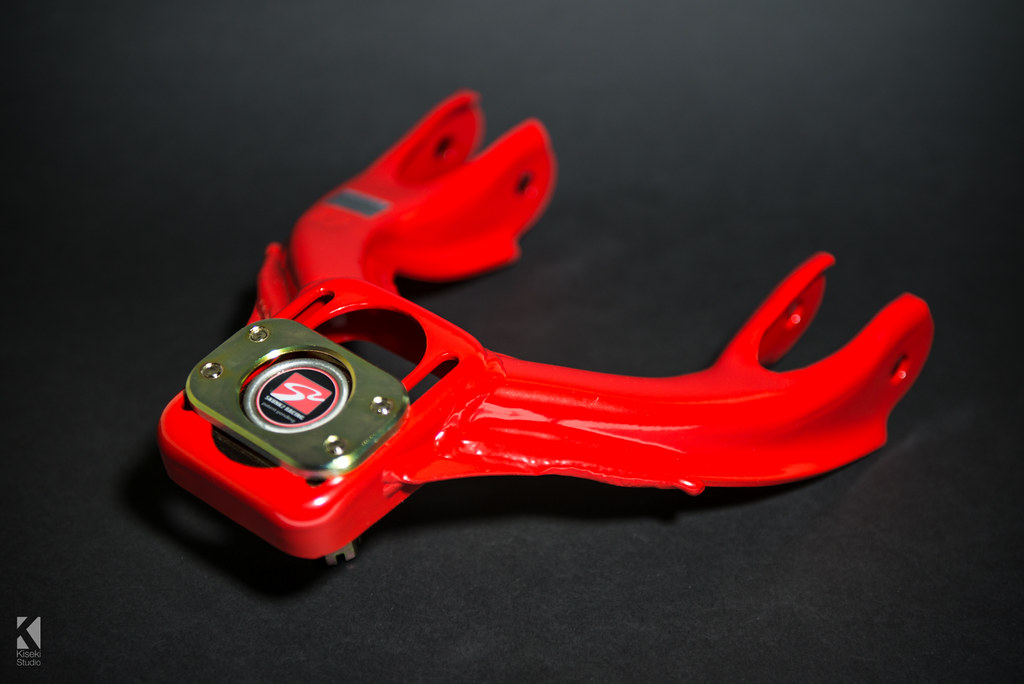
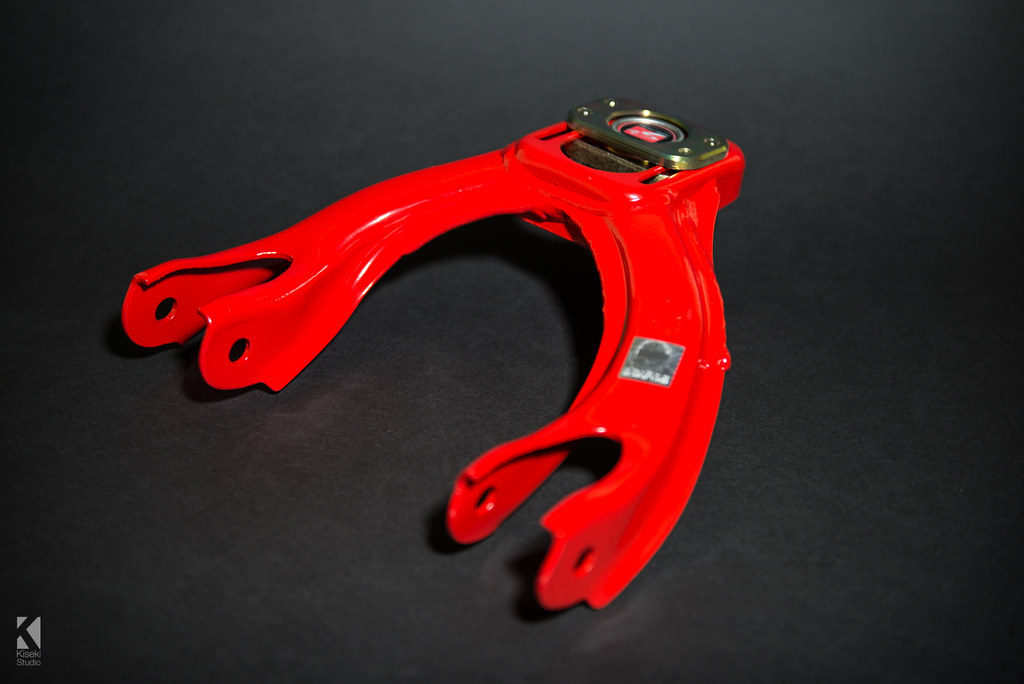
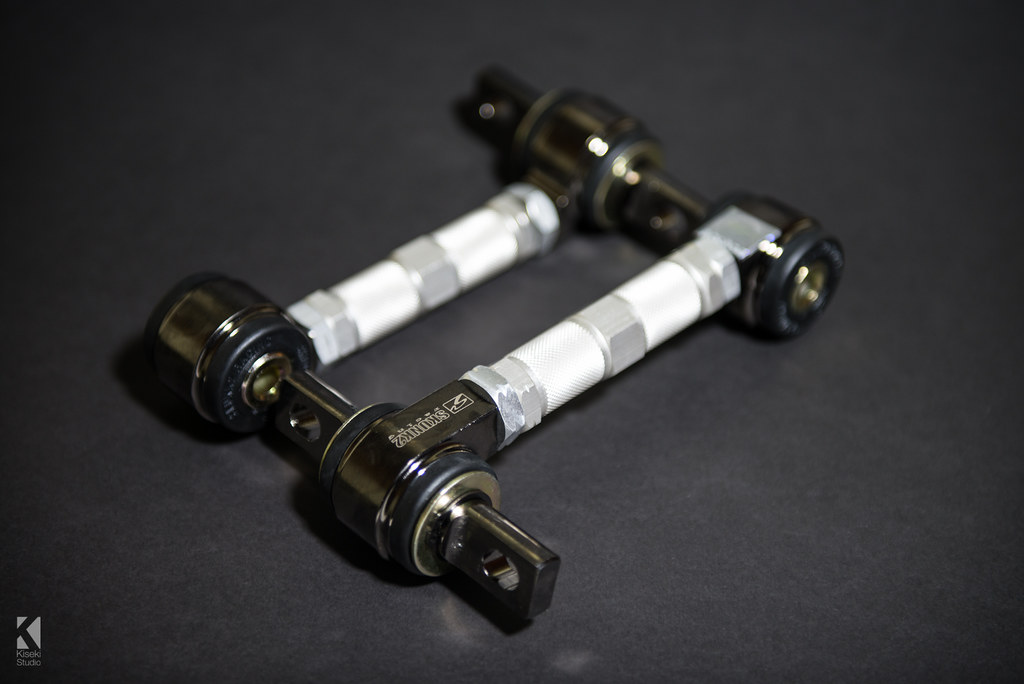
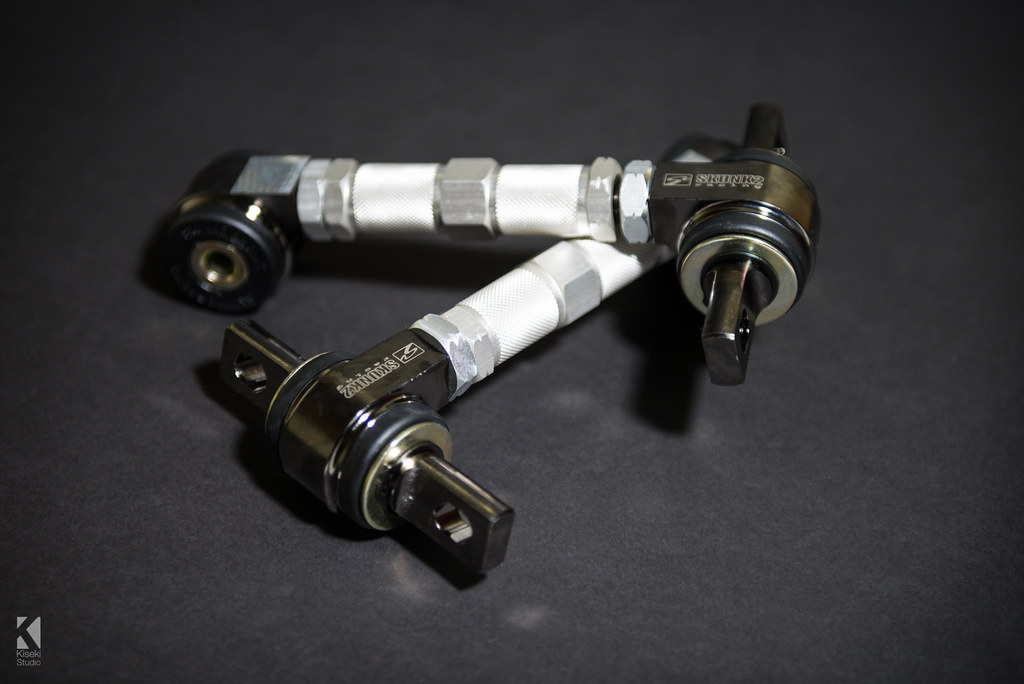
For the front and rear suspension parts I opted to go with the Skunk2 Pro front and rear adjustable camber arms, giving around 5 degrees of adjustment either way from 0. Having ordered the wrong rear lower control arms, not realising my suspension was different from the VTi EG6, the SiR runs the eye type rear suspension fitting coupling the lower control arm like the DC2 Integra has. I've always loved the look of the Function7 aluminium control arms so yet again I got a set of these and they are seriously impressive when you look at them up close.
Anyway here are some detailed pics of the items I've bought for the suspension.
TEIN Type Flex
Function7 Rear Lower Control Arms
Skunk2 Front & Rear Camber Kit
For the front and rear suspension parts I opted to go with the Skunk2 Pro front and rear adjustable camber arms, giving around 5 degrees of adjustment either way from 0. Having ordered the wrong rear lower control arms, not realising my suspension was different from the VTi EG6, the SiR runs the eye type rear suspension fitting coupling the lower control arm like the DC2 Integra has. I've always loved the look of the Function7 aluminium control arms so yet again I got a set of these and they are seriously impressive when you look at them up close.
Anyway here are some detailed pics of the items I've bought for the suspension.
TEIN Type Flex
Function7 Rear Lower Control Arms
Skunk2 Front & Rear Camber Kit
Labels:
Camber Kit,
Civic,
Coilovers,
Function7,
Honda,
SiR,
Skunk2,
Suspension,
TEIN
Saturday, 2 March 2013
Rear Wiper Removal
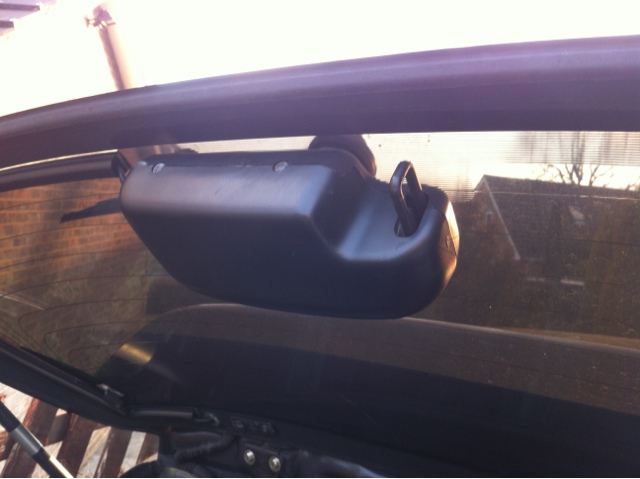
I bought the genuine Honda wiper blanking bung for the rear window glass so I could remove the wiper motor and wiper arm as I don't think I'll be needing it much on the track.
Here are the before and after pics, quite a nice cheap way to clean up the rear end and save a bit of weight.
Labels:
Civic,
EG6,
Honda,
Rear Wiper Removal,
Wiper Bung,
Wiper Delete
Monday, 25 February 2013
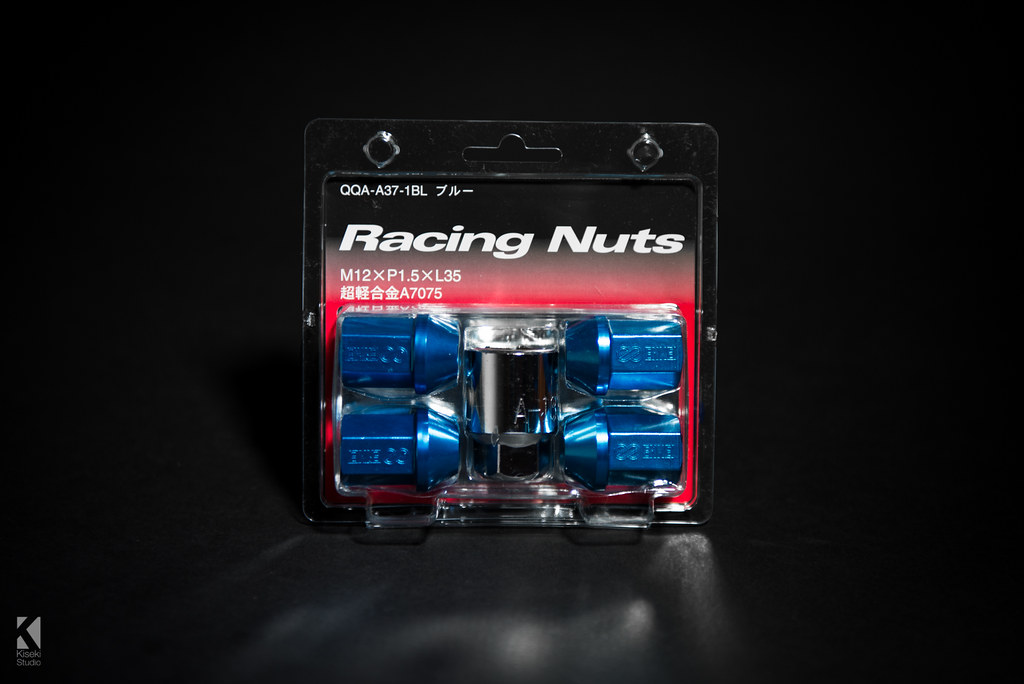
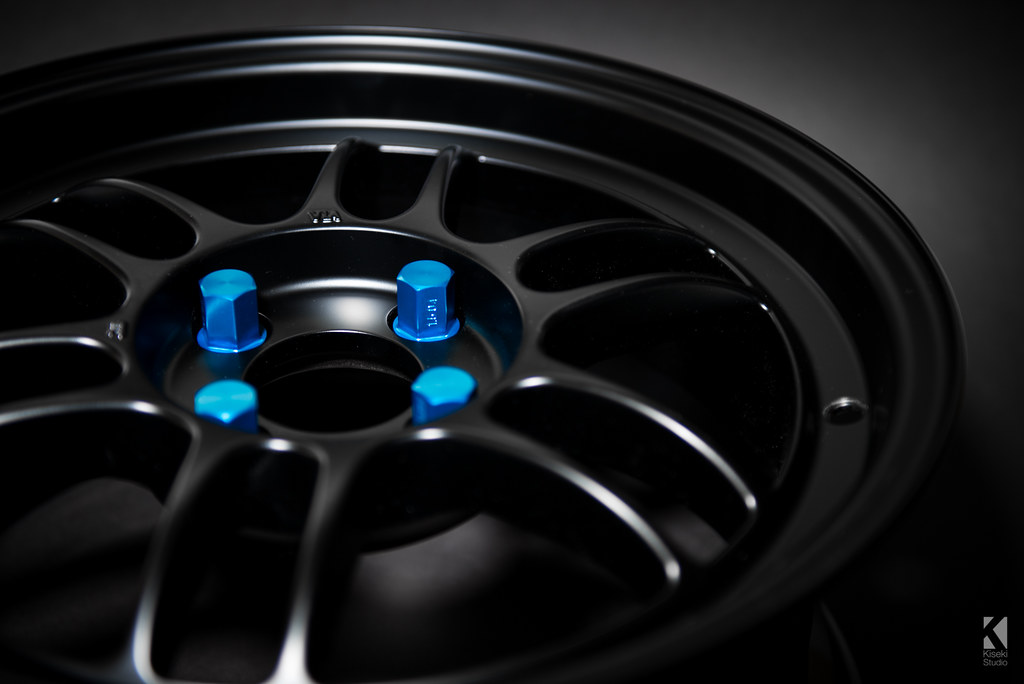
Enkei Racing Nuts
Having spent a considerable amount on the Enkei RPF1 wheels I wanted to make sure the wheel nuts matched the high quality and finish of the wheels. I thought it would make sense to get the matching brand wheel nuts as they make them in a locking version too and will go with the my black and blue colour scheme.
Here are a few detailed shots below, roll on the summer so I can get everything fitted.
Sunday, 17 February 2013
Aerial Removal
Been a while since I touched my Civic, I had been bought an aerial blanking plate for Christmas and as the weather was quite nice today I got round to removing the old aerial and replacing the cover with a blank plate seeing as I have no audio equipment whatsoever in the car now.
Labels:
Aerial Blanking Plate,
Aerial Removal,
Civic,
EG6,
Honda,
SiR
Monday, 11 February 2013
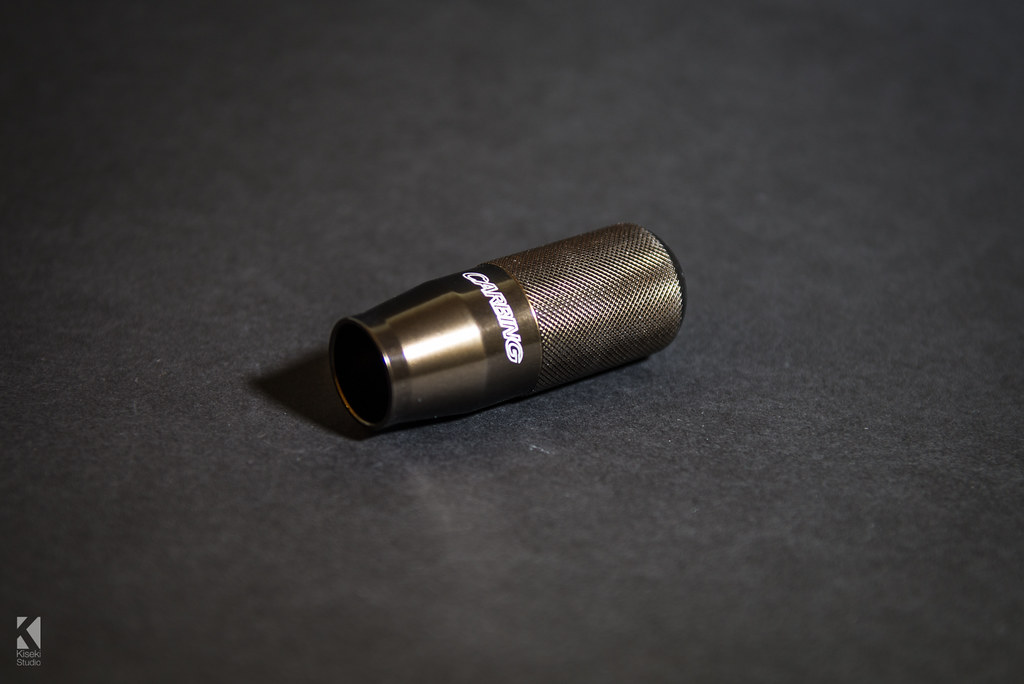
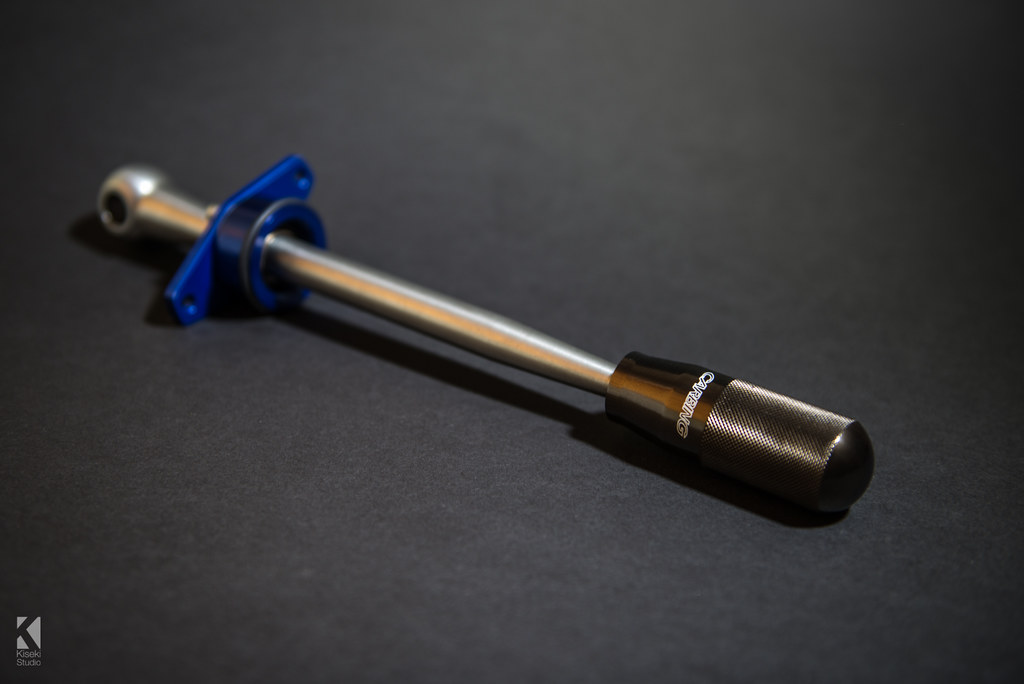
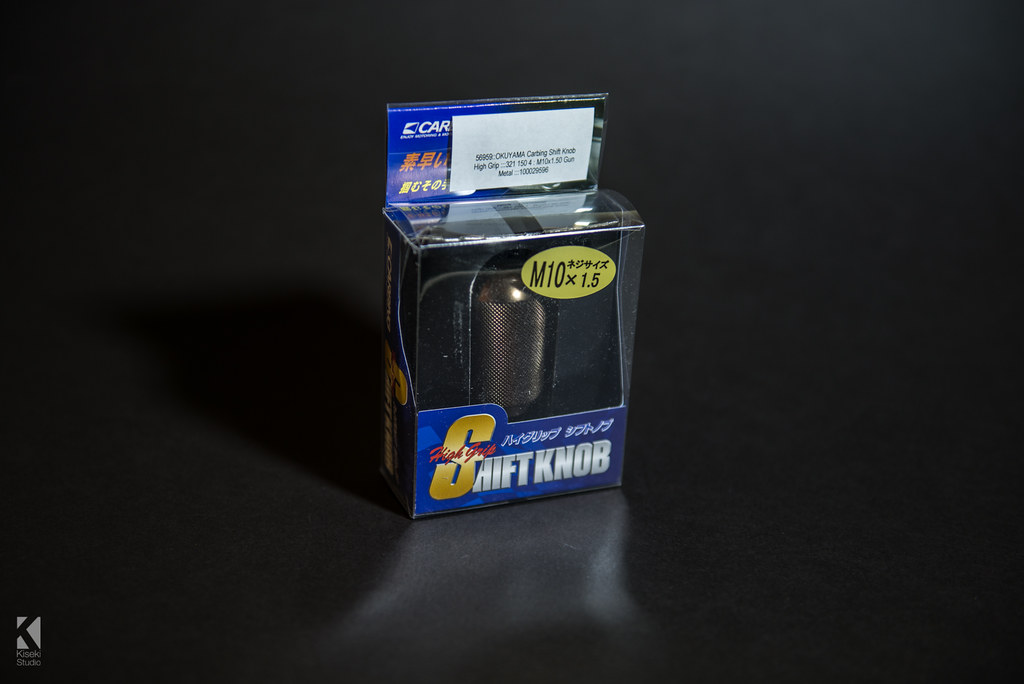
Okuyama Carbing Shift Knob
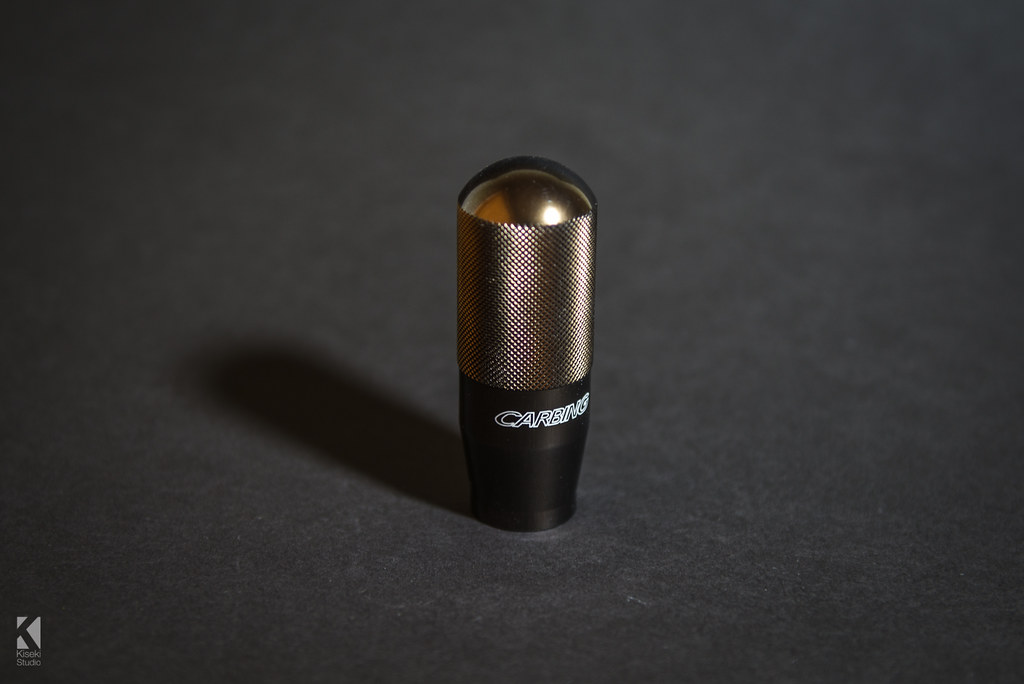
I've been trying to decide for ages to find a decent shift knob to sit on top of my B&M Quick Shifter. I came across a few really nice options but most of them have been discontinued now. Carrying on my obsession with Bronze items on my cars I came across the Okuyama Carbing Shift Knob on RHDJapan and instantly thought that would be the perfect item for my interior.
So here it is, a very nice piece, feels great to hold and should provide good grip with it's roughed edged section when performing aggressive shifts. I don't see many people rocking these either for whatever reason but I prefer it that way.
Monday, 21 January 2013
Monday, 31 December 2012
Subscribe to:
Posts (Atom)